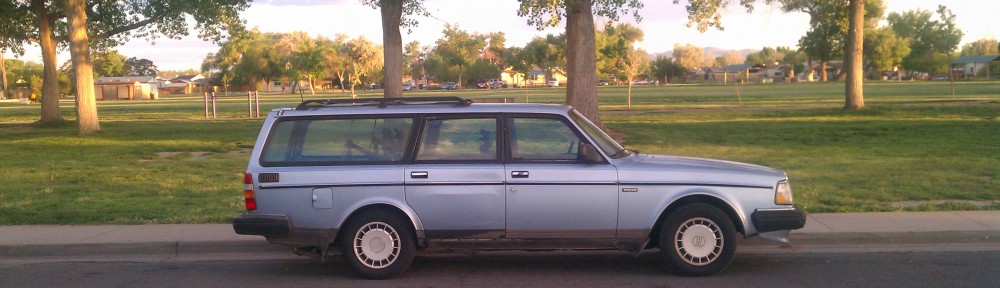
I’d bought my 1991 Volvo 245 (240 wagon) after someone had rear-ended it, and the car was a good deal at the price of $800, which amazingly included $500’s worth of just-installed new tires.
The tailgate was a mess, and I finally found a replacement at a junkyard.
Tailgate removal and installation can be done the easy way or the hard way. I tried the hard way:first, on the donor car at the junkyard. This consisted of:
- Failing to figure out how to cleanly separate the tailgate wiring from the car wiring and finally cutting the wiring.
- Removing the tailgate from the hinges, and leaving the hinges on the car
I removed the damaged tailgate on my own car using the same not-so-smart approach. On my car it was too late to save the wiring; it had failed on its own accord. I read that Volvo tailgate wiring doesn’t age well, for understandable reasons, and it often needs replacement anyway, after 25+ years of exposure, stress and strain. I ordered two new replacement units, $10 or so per side, nicely affordable. I needed two, one for the driver side and one for the passenger side. I later ended up regretting that purchase, for reasons I plan to explain elsewhere.
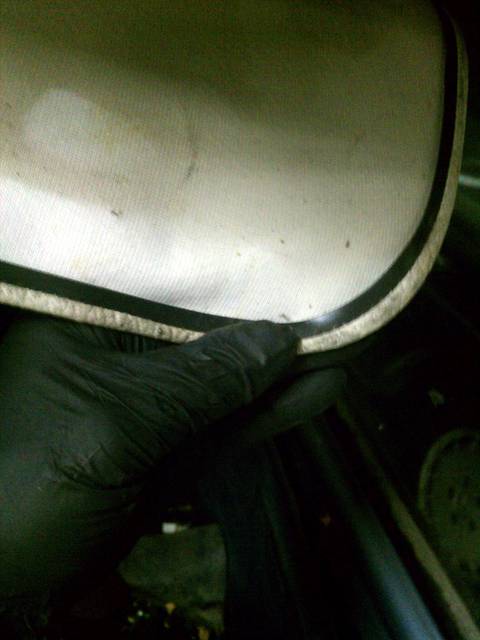
The washer fluid hose is integral to the tailgate, and I needed to disconnect it from the car. The hose exits the metal via a grommet in the center …
 … then runs along the top lip of the tailgate opening towards the passenger side.Two metal clips hold it in position.
 Then, it vanishes through a grommet into the passenger side rear vertical pillar of the car.
 This same length of hose then runs down the inside of the pillar and connects with another hose that runs along the passenger side of the car. At this junction, I disconnected and reconnected the hose to the tailgate.
For access to this connection, I removed the passenger side inside rear trim panel.
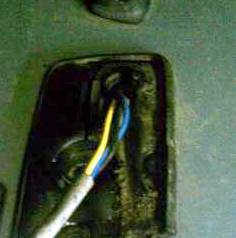
The wiring connections are underneath the headliner. On the passenger side there is one large bullet connector, and on the driver side there are three wires: two spade connectors and one bullet connector. I could simply pull these apart.
For access to these connections, I pulled the tailgate opening trim away from the top lip of the car, and then I stuck a large flat screwdriver into the slight opening atop the headliner, then gently leveraged it out.
 The headliner fits around a steel frame almost like a shower cap fits around a person’s head: a tight band keeps things in position.
 I pulled the rearmost lip of the headliner free, plus another six inches or so on each side.
From there, and after removing a piece of foam rubber, I could access the wiring so as to unplug the connections.
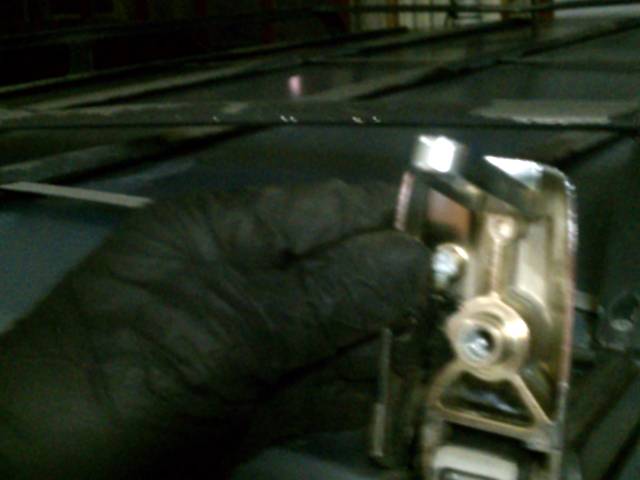
 The struts on either side needed to be removed too. I removed the slide clip on each side of the tailgate …
 … and then removed the strut on each side by shoving it off its horizontal rod.
It might be tempting to whack the side of the strut body to get the strut removed. I would strongly advise against that. I doubt that this part was designed to deal with lateral forces. Hitting it from the side would, I’m guessing, probably run a reasonable risk of shortening its life significantly. I used a large, flat screwdriver to gently pry the strut in the direction I needed.
I didn’t need to remove the struts from the car side, but I did anyway to see how they work. The mechanical connection is similar to a person’s hip joint (I mean physically, not as in a jovial geographical location). To keep things in place on the Volvo, a strangely shaped spring clip fits around the strut, and this needed to be worked loose first, and then the bottom of the strut could be gently pried away from the joint — ideally without marring the paint or making a dent.
With the struts, washer hose and the wiring disconnected, I was ready to remove the tailgate. To remove it from the hinges while the hinges are on the car is not the best approach. With the tailgate closed and the car level, and an assistant holding the tailgate in position just in case, I now prefer to lie on my back in the cargo area and look up. From there, I stick a 12mm socket with extension into the sheet-metal holes inside the car, in the area exposed by the loose-hanging headliner. Then I remove the two long bolts on each side, taking care not to lose the two washers per bolt, that come along. With the tailgate still being latched I’m not even sure that I need an assistant there, now that I think about it.
After I removed these four bolts (two on each side) …
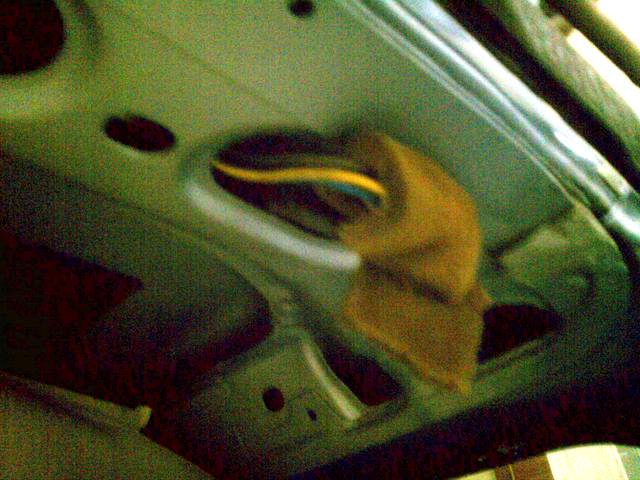
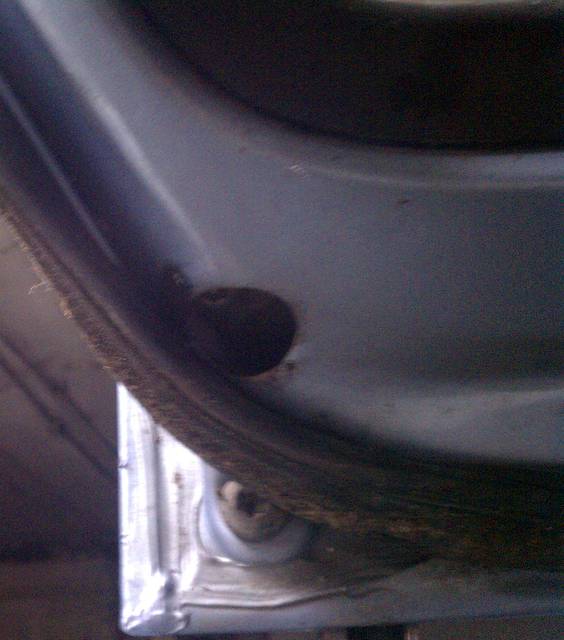
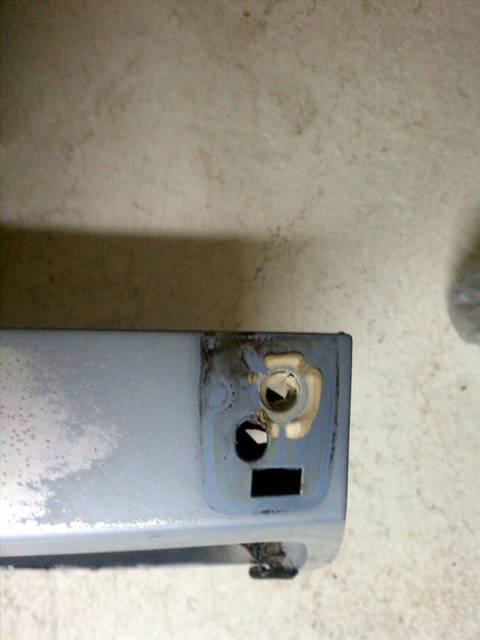
 … the hinge is no longer attached to the car, and it can be pivoted up. This is a good time to feed the wiring on each side up and out of the sheet-metal hole, made specifically for this purpose. On each side, between the hinge and the car, is a rubber gasket.
 It has a 3-D shape so that it can pinch a rib or spine along the length of the hinge, and stay in position as the hinge is lowered.
 The gaskets are not interchangeable, side to side.
 Some sealant had been lavished on the general area, and this having been an Oregon car, and the tailgate having showed NO signs of water leakage, I can vouch for Volvo having done a great job of that. After 25+ years the sealant was hard and brittle, and I pried gobs of it away.
 Peeking down at the bolt holes from above I saw two washers loosely sitting on the area through which the 12mm vertical bolts fitted, and it seemed fairly easy to nudge one out of position. Perhaps next time I should temporarily drop a bolt down each of these holes from the top, to keep it in position.
Next time I also plan to have a clean, soft area ready for me to deposit the tailgate onto. Anyway, with all this removed, indeed the tailgate can be unlatched one more time, and then pulled upward and away from the car.
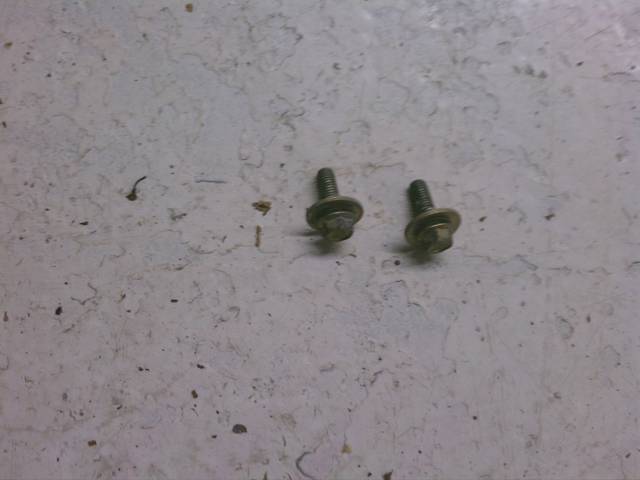
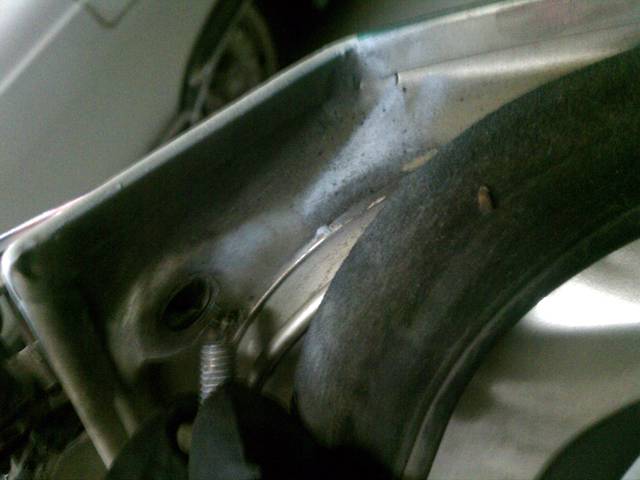
To remove each hinge from the tailgate, two bolts are involved. Both have T40 Torx heads but they’re not identical.
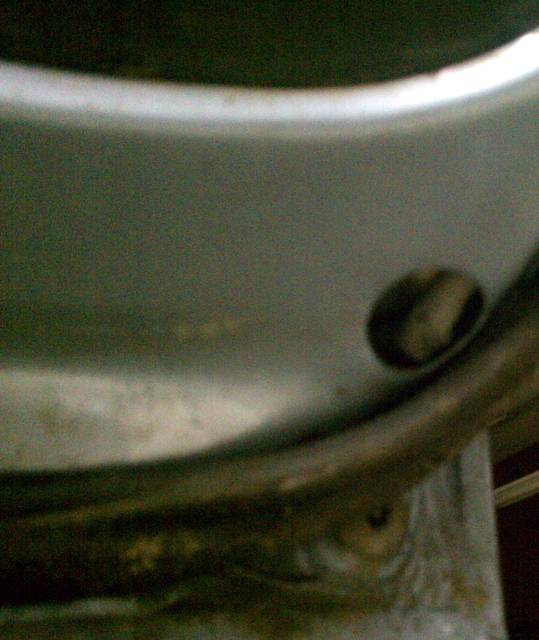
 The bolt inboard of the rubber seal is shorter and has an integral washer, and its protected space (away from the elements) means it’s relatively shiny and new. A hole in the tailgate sheet metal provides access to this bolt …
 … but I first needed to stick a flat screwdriver into that hole, to pry the wiring out of the way. It was a lot easier when I pushed the wiring towards the glass, i.e., towards the inside of the tailgate, as opposed to towards the edge, i.e., away from the center.
 … since it runs right over the top of that bolt. After that, it was easy to remove the bolt. As a guideline, the extension on my ratchet was approximately perpendicular to the window glass when removing the bolt. It seemed possible to drop the bolt into the tailgate so I diligently avoided doing so.
The bolt outboard of the rubber seal is longer and I didn’t see an integral washer on it, and its unprotected space (exposed to the elements) means it’s relatively weather-worn on my car. I needed to shove the tailgate rubber out of the way, for access to the bolt.
I yielded to the temptation to pull the rubber away from the tailgate and found it difficult to replace the rubber later. As a guideline, the extension on my ratchet was approximately parallel to the window glass when removing this bolt.
 As part of swapping tailgate I needed to transfer the rear license plate, which on my car involved two acorn nuts. I’m not sure what size they are; they looked like 10mm.
As a test, I put the tailgate back onto the car even with the hinges completely out of the picture, on my workbench somewhere. It was interesting to see the tailgate stays nicely in position on the car, even so. Even the latch worked perfectly. It’s cool how Volvo designed the car to not just be nice to drive but also nice to assemble.
As to assembly, I am guessing that the entire tailgate got assembled away from the main assembly line, and then with the two wiring looms and washer/wiper hose dangling, the tailgate with hinges and gaskets was brought to the back of the car. The tailgate was perhaps then put into position, the hose and wires fed through, and the hinge bolts inserted and tightened. Brilliant.
The more I work on these cars, the more I admire the engineering behind them. I basically plan to stock up on a stash of tailgates and tailgate parts, as well as rear bumpers and rear indicator lights. That way if a 245 ever gets rear-ended, then the owner can replace the tailgate without having to even have the part repainted.

You must be logged in to post a comment.